[Zbrush] zbrush初学者双层手提袋实例制作视频教程 |
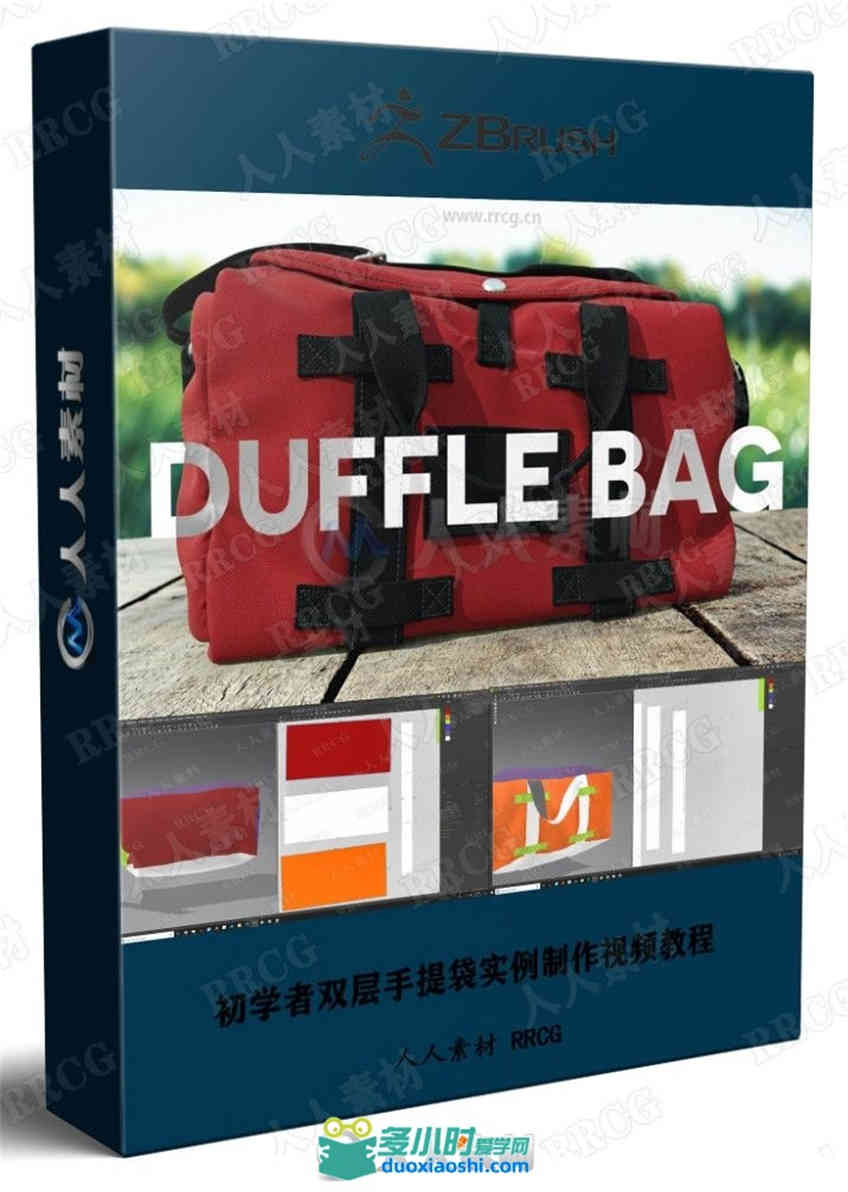
本教程是关于zbrush初学者双层手提袋实例制作视频教程,时长:4小时,大小:2.9 GB,MP4高清视频格式,教程使用软件:Zbrush,Marvelous Designer,附源文件,作者:Oasim Karmieh,共21个章节,语言:英语。 ZBrush是一个数字雕刻和绘画软件,它以强大的功能和直观的工作流程彻底改变了整个三维行业。在一个简洁的界面中,ZBrush 为当代数字艺术家提供了世界上最先进的工具。以实用的思路开发出的功能组合,在激发艺术家创作力的同时,ZBrush 产生了一种用户感受,在操作时会感到非常的顺畅。ZBrush 能够雕刻高达 10 亿多边形的模型,所以说限制只取决于的艺术家自身的想象力。ZBrush软件是世界上第一个让艺术家感到无约束自由创作的3D设计工具!它的出现完全颠覆了过去传统三维设计工具的工作模式,解放了艺术家们的双手和思维,告别过去那种依靠鼠标和参数来笨拙创作的模式,完全尊重设计师的创作灵感和传统工作习惯。 更多相关教程请关注:Zbursh视频教程专区,中文字幕教程专区 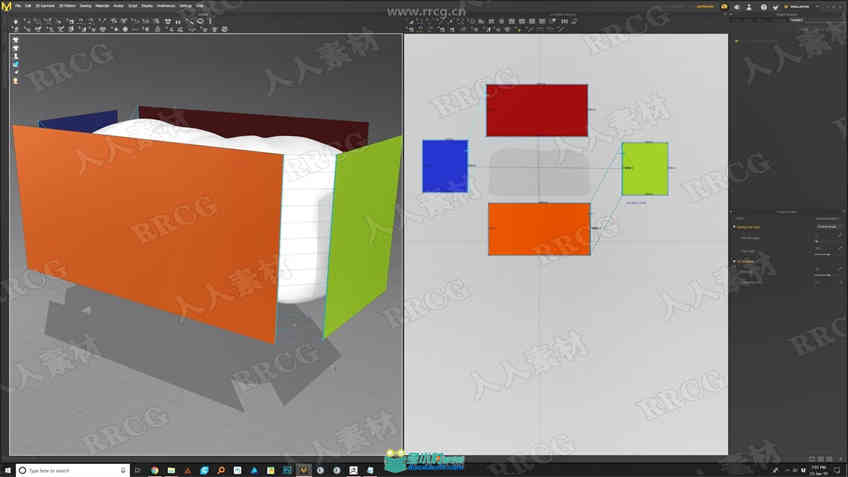
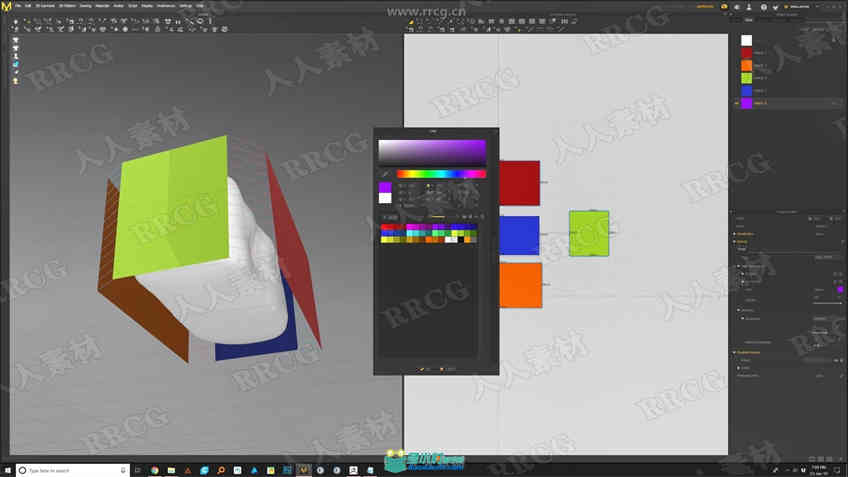
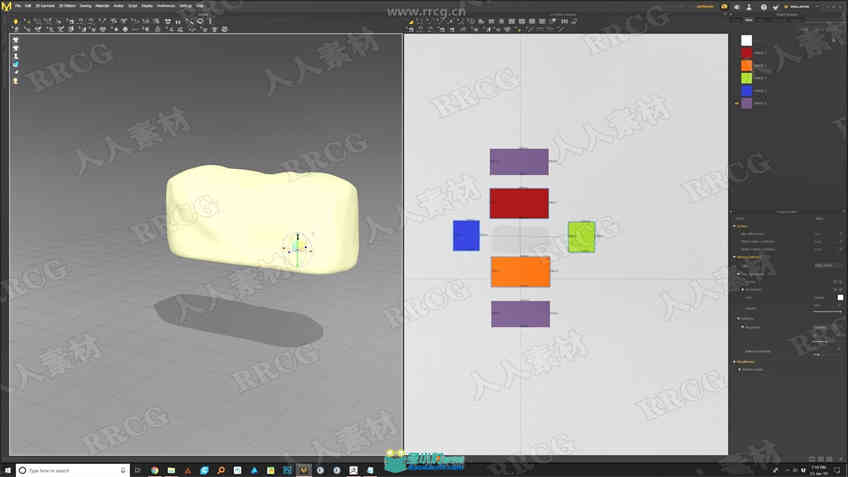
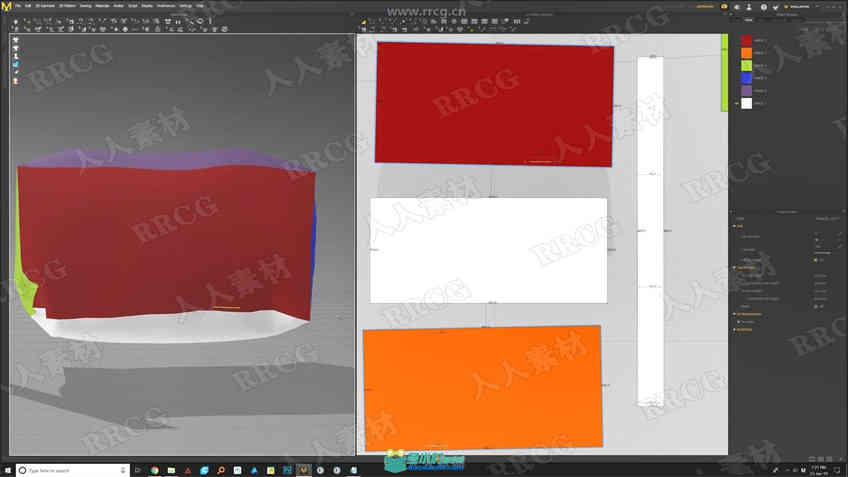
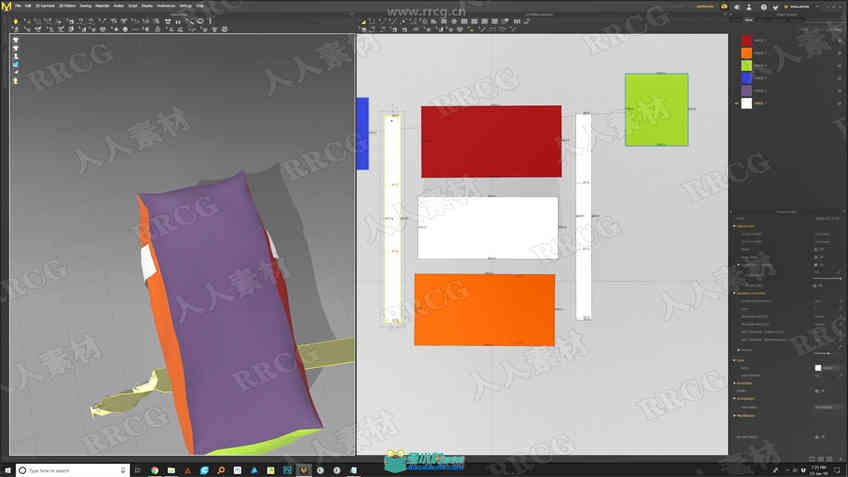
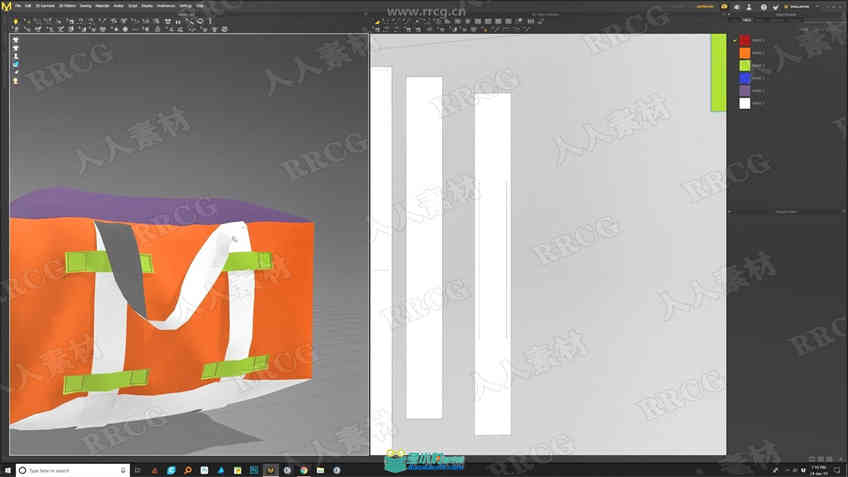
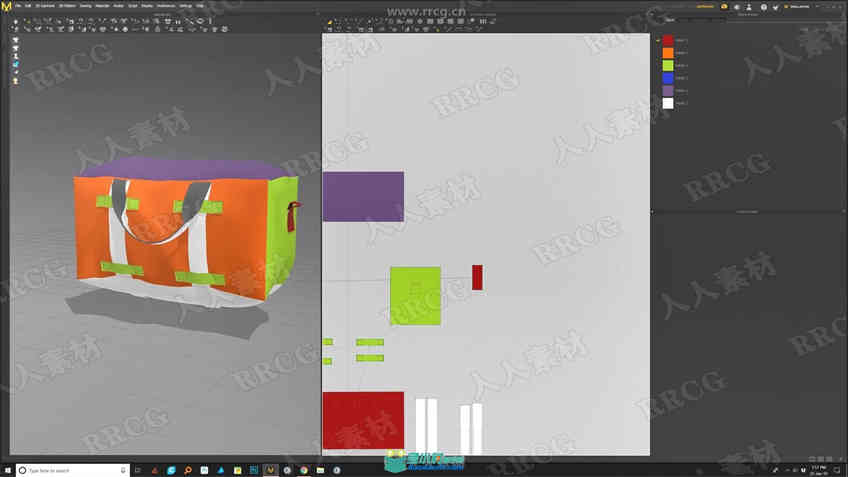
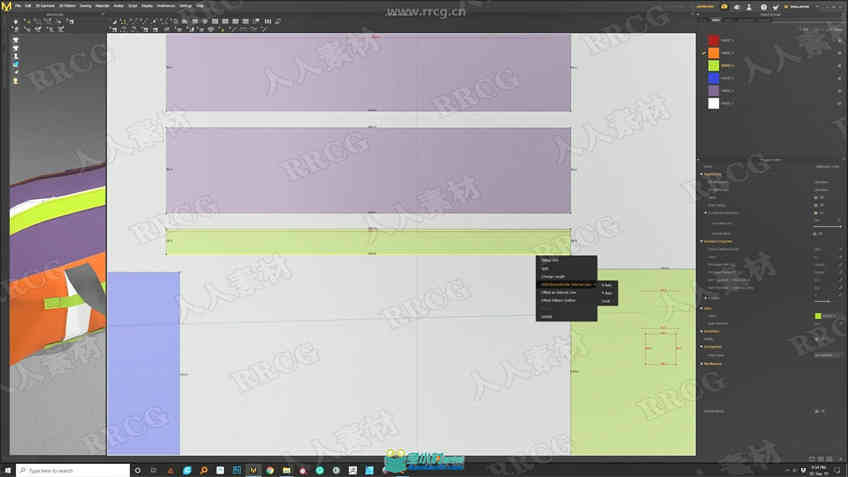
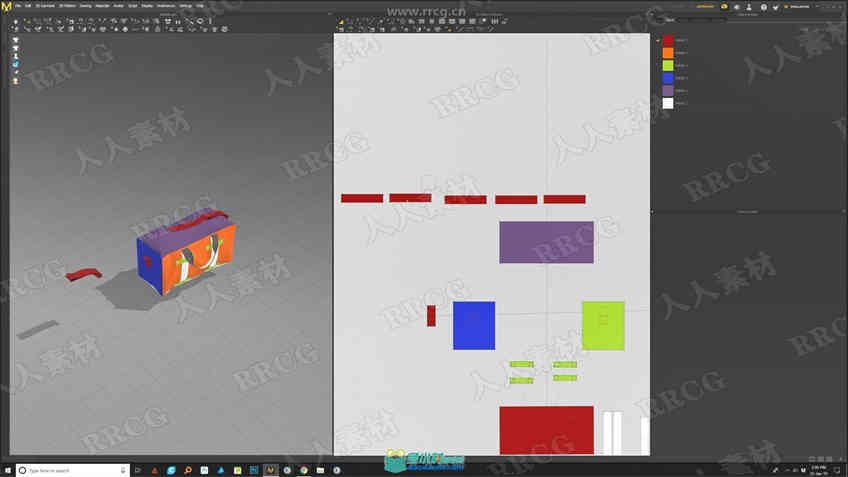
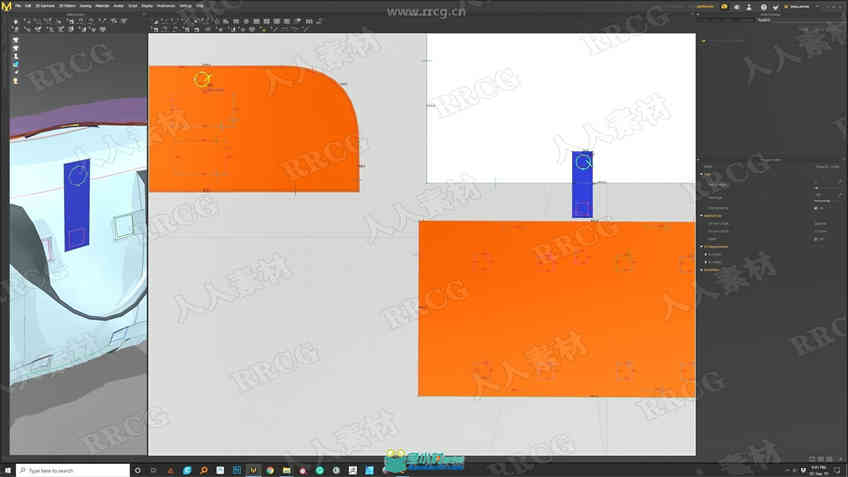

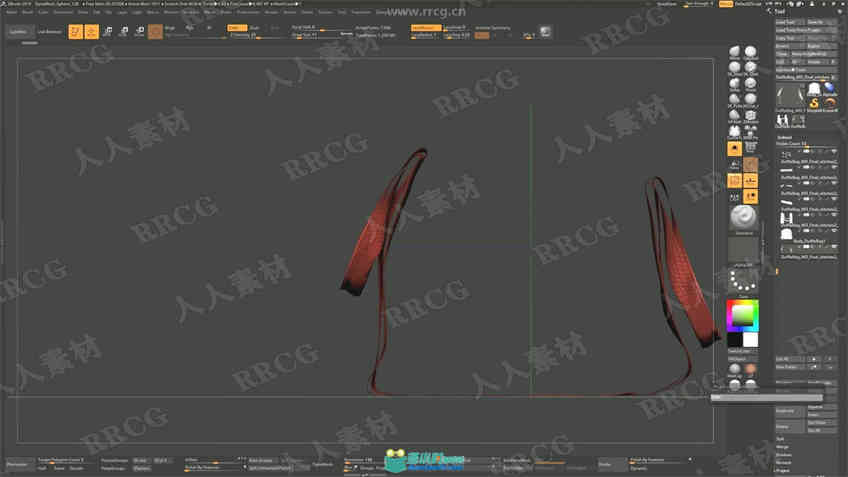
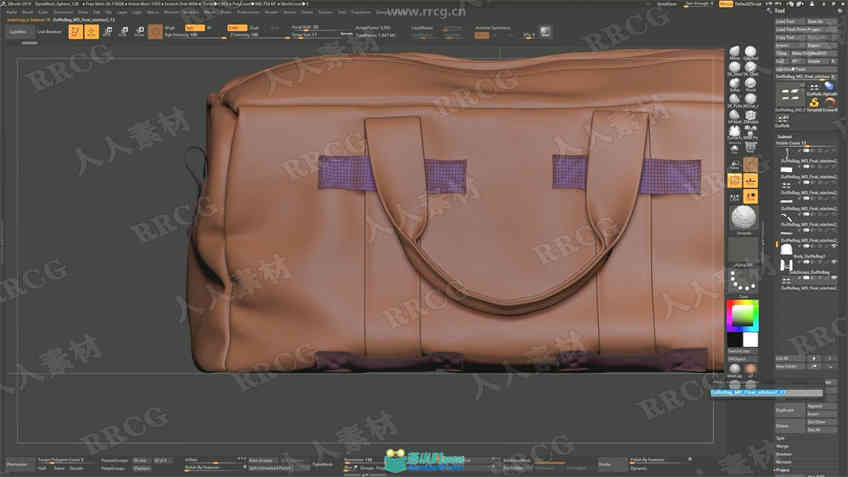
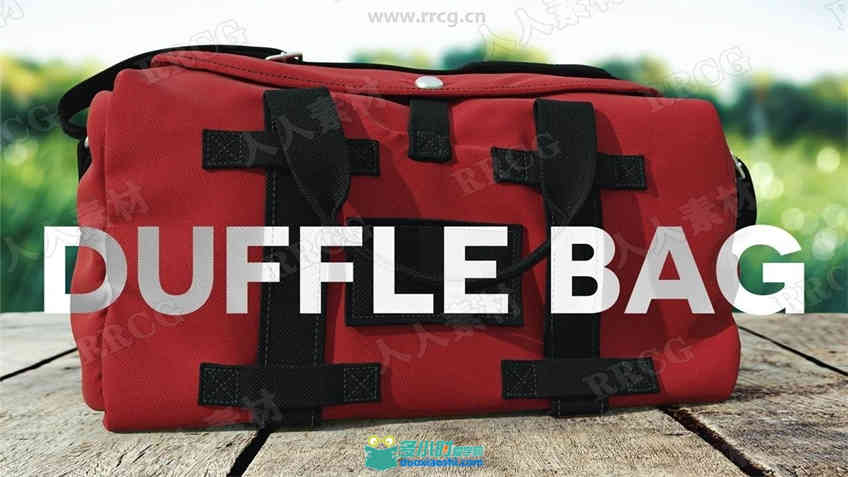
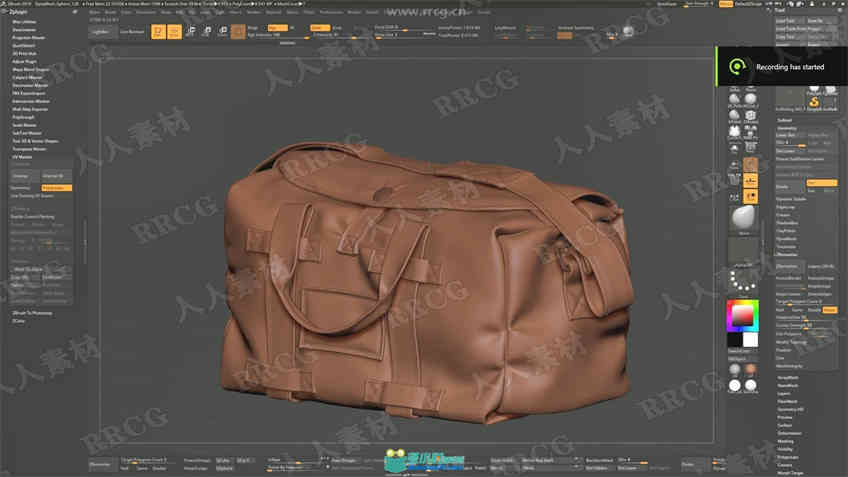
I will be sharing with you my thought process and why I’m using those specific tools. I will be showing you my technique in how I create my duffle bag for animation or still render purposes. This course is targeted for people who are acquainted with Marvelous Designer and ZBrush. But can be quickly followed by newcomers to the software. I have broken this up into 20 easy to watch videos (5 to 20 min each), I don’t have any speed up videos, all videos are recorded in real-time, and I try to be as transparent as possible with the tools and methods that I’m showing. The techniques that you learn in these videos can be applied on any type of bag, from handbags, purses, hobo bags, clutch bags, backpacks, shoulder bags, crossbody bags and leather totes. This course covers every aspect of the bag design process, from gather reference and sewing patterns to creating the 2d sewing patterns, detailing them in ZBrush to finally rendering the model in Dimension CC. Some topics that are covered in the duffle bag course How to use the rectangle tool to create simple patterns for our bag How to use the 3d stitching tool in the 3d view. How to import multiple avatars to help us pose the bag in Marvelous Designer. How to create straightforward 3d buckles and turn them into an insert mesh brush. How to add buttons inside Marvelouse Designer. How to create a zipper in Marvelous Designer. How to add 3d stitching details in Marvelous Designer. How to Zremesh and cleanup the MD model in ZBrush. How to UV map all the parts that make the bag How to decimate our 3d bag while keeping our UV I will be showing how to prepare the model for shading, lighting and rendering inside Adobe Dimension. |