[C4D] C4D中Arnold 6视觉特效渲染技术大师级训练视频教程 |
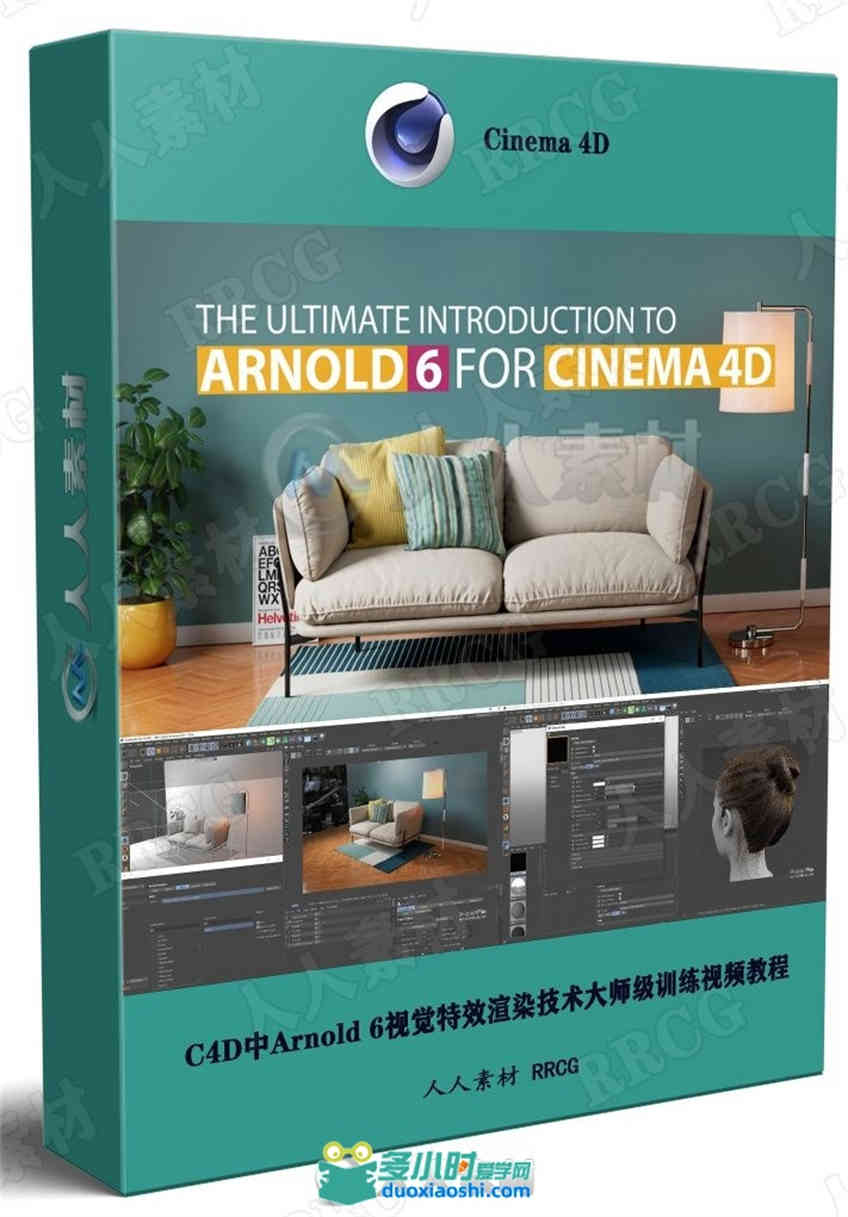
本教程是关于C4D中Arnold 6视觉特效渲染技术大师级训练视频教程,时长:12小时,大小:20 GB,MP4高清视频格式,教程使用软件:Cinema 4D,作者:mographplus,共84个章节,语言:英语。 Cinema 4D是一套由德国公司Maxon Computer开发的3D绘图软件,以及高的运算速度和强大的渲染插件著称。Cinema 4D 应用广泛,在广告、电影、工业设计、等方面都有出色的表现,例如影片《阿凡达》有花鸦三维影动研究室中国工作人员使用Cinema 4D制作了部分场景,在这样的大片中看到C4D的表现是很优秀的。在其他动画电影中也人人素材网使用到C4D的有很多如《毁灭战士》(Doom)、《范海辛》〈Van Helsing〉、《蜘蛛侠》、以及动画片《极地特快》、《丛林总动员》(Open Season)等等。它正成为许多一流艺术家和电影公司的首选,Cinema 4D已经走向成熟,很多模块的功能在同类软件中是代表科技进步的成果。 更多相关内容请关注: C4D视频教程专区,中文字幕教程专区 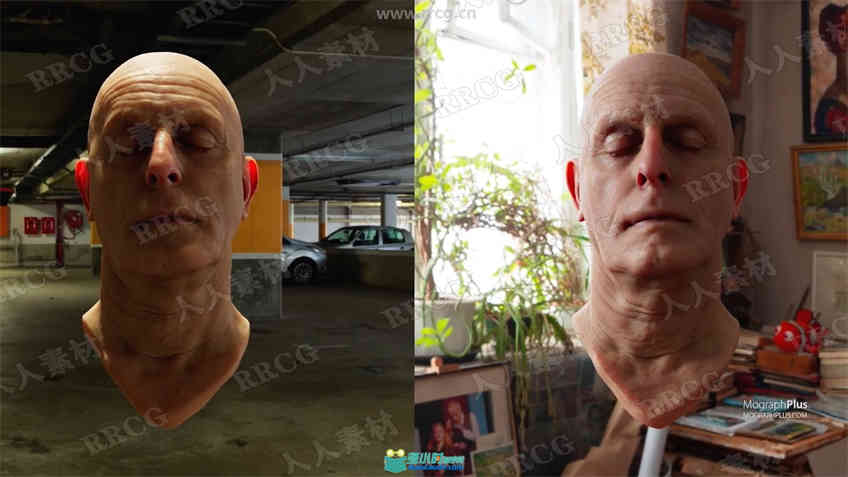



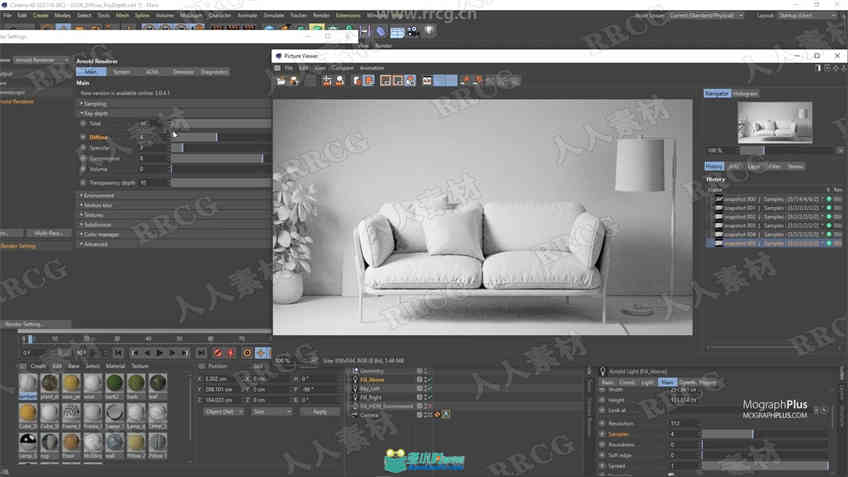
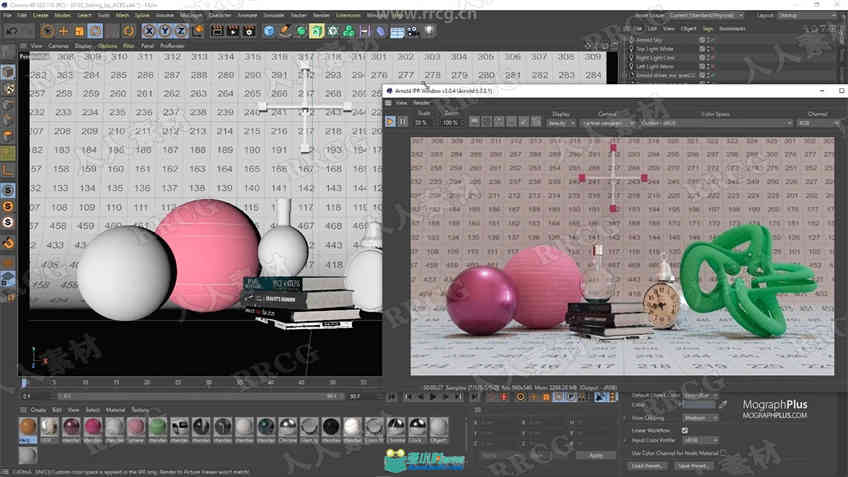
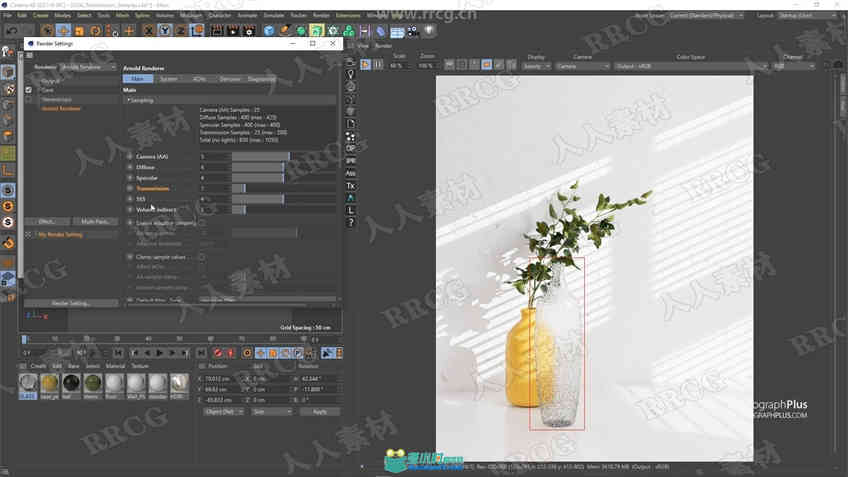
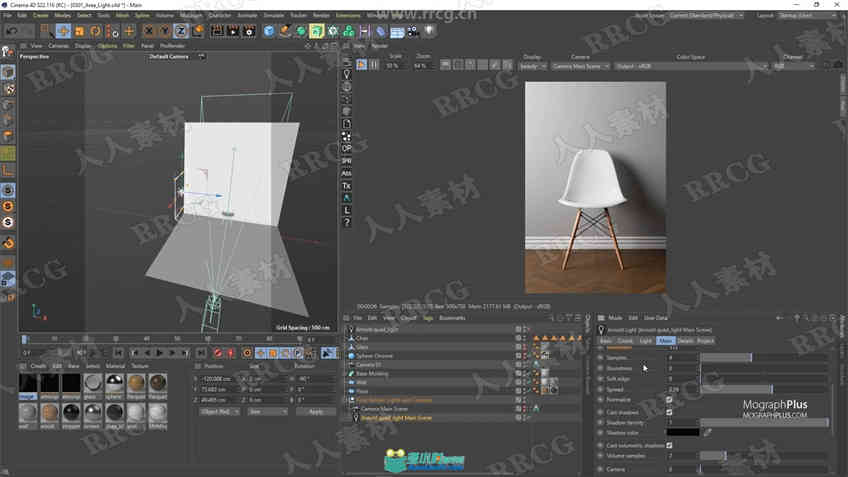
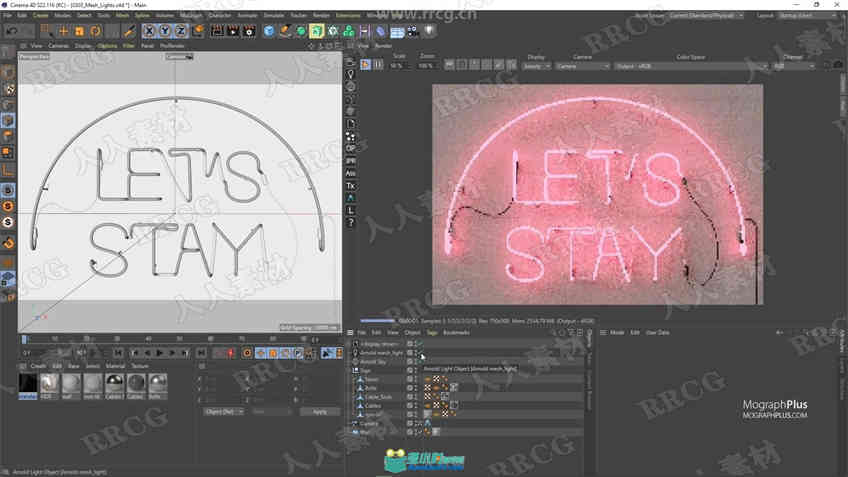
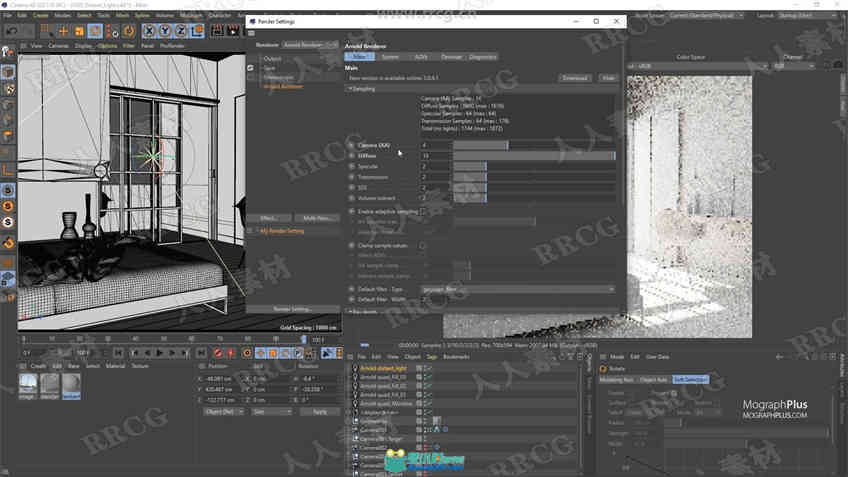
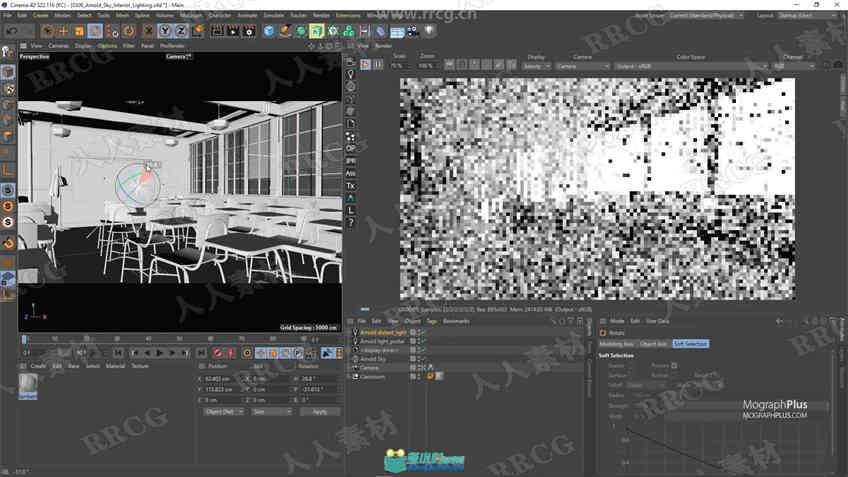
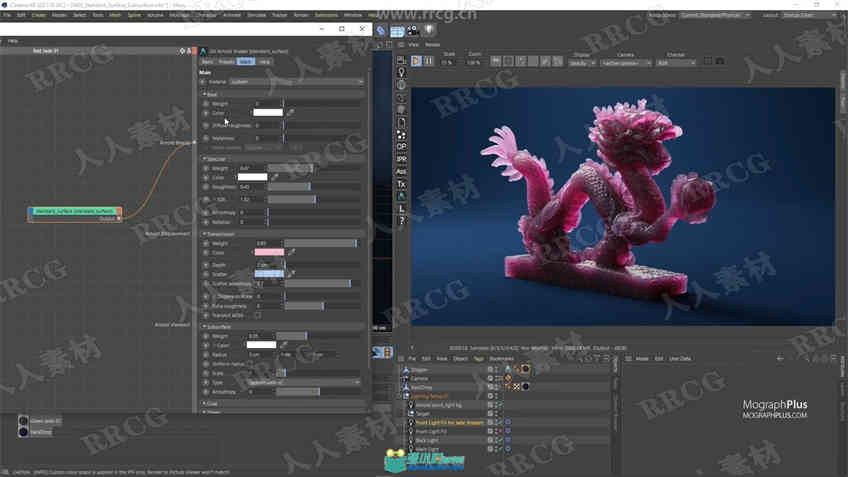

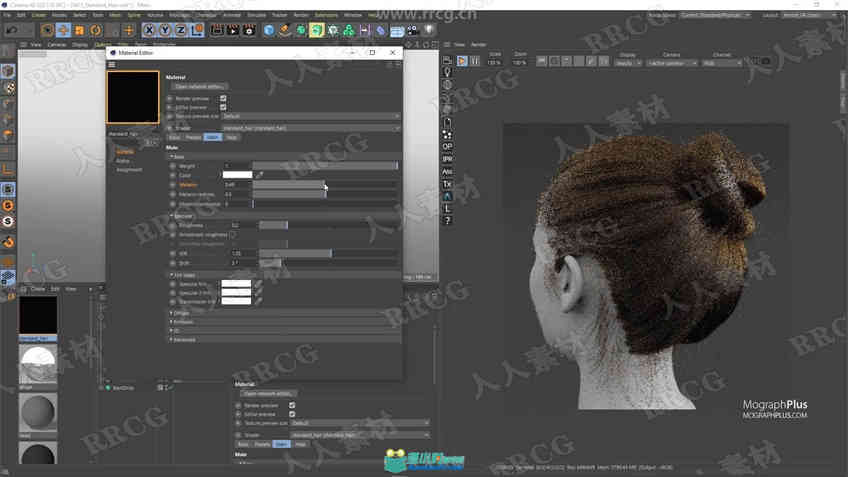
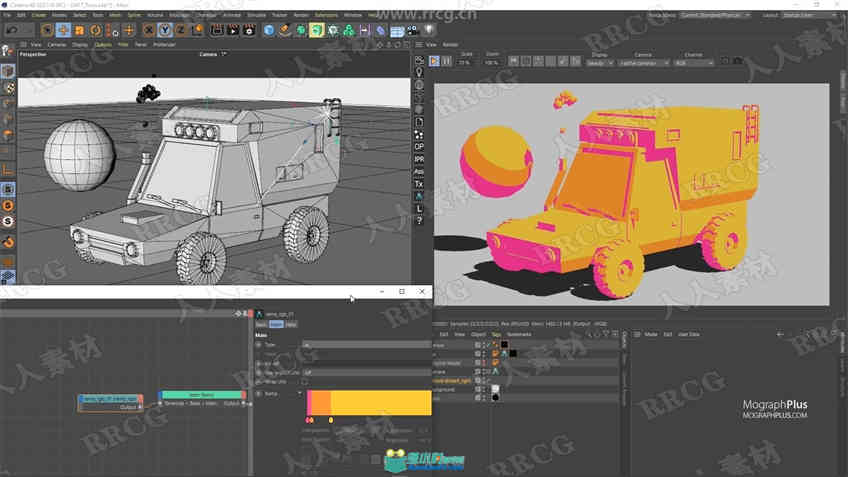

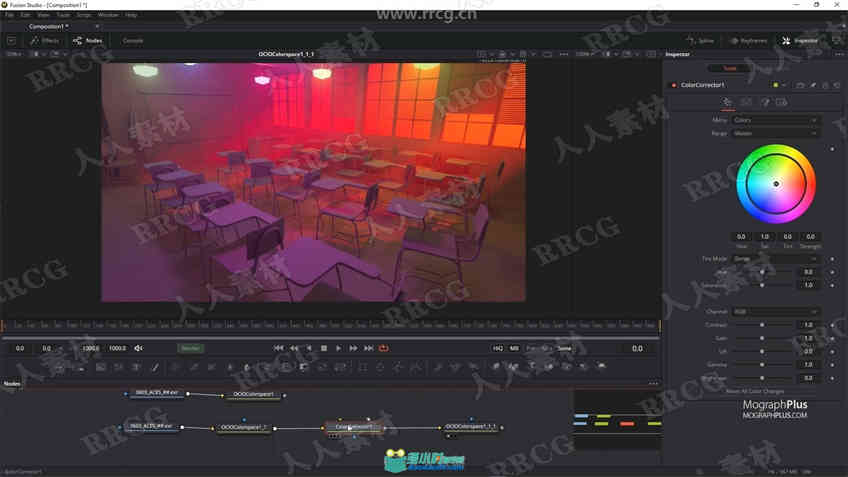
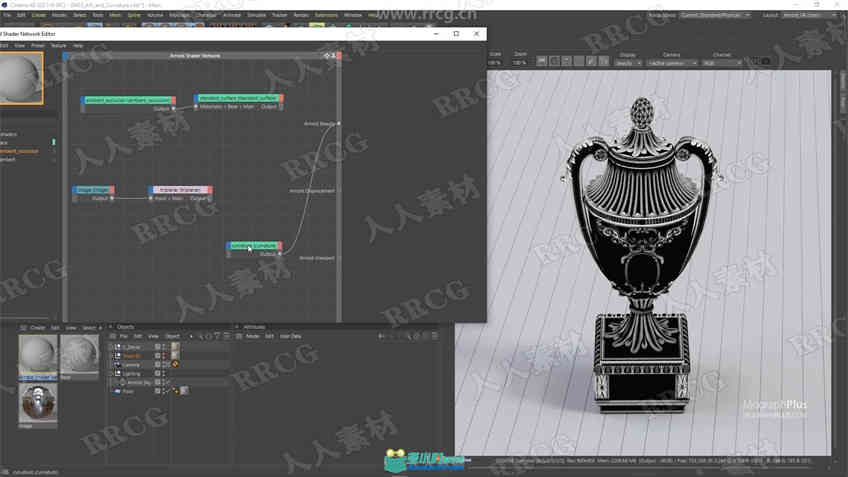
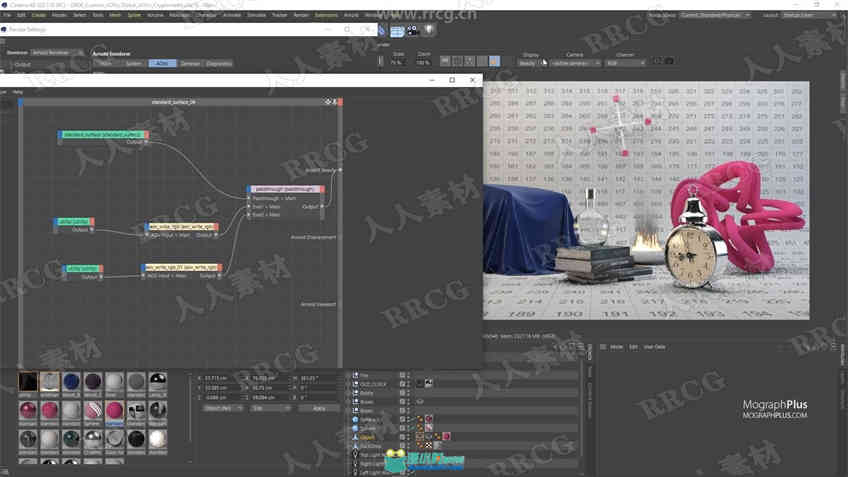
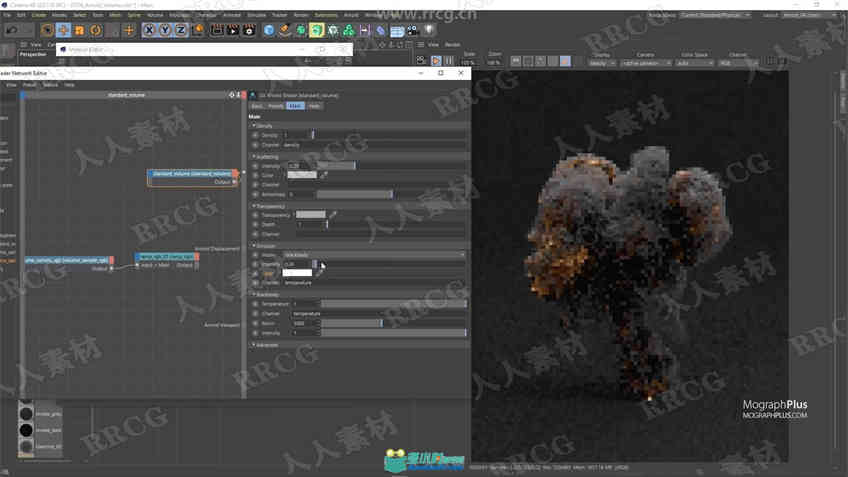
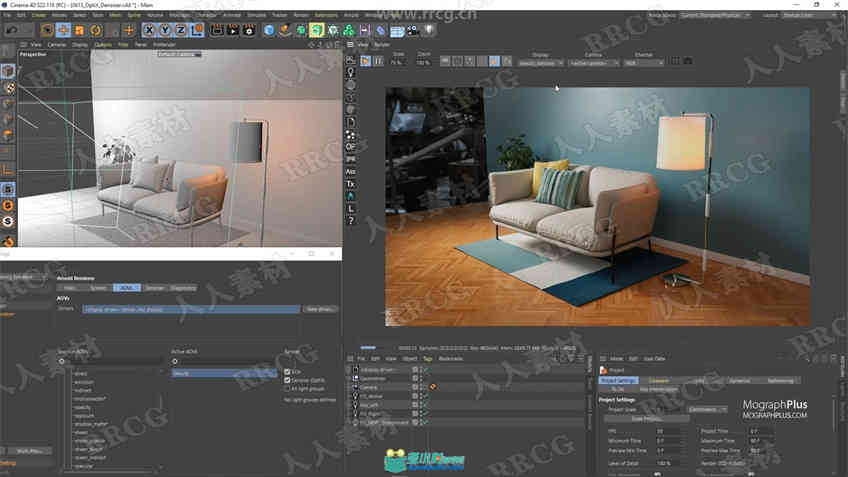

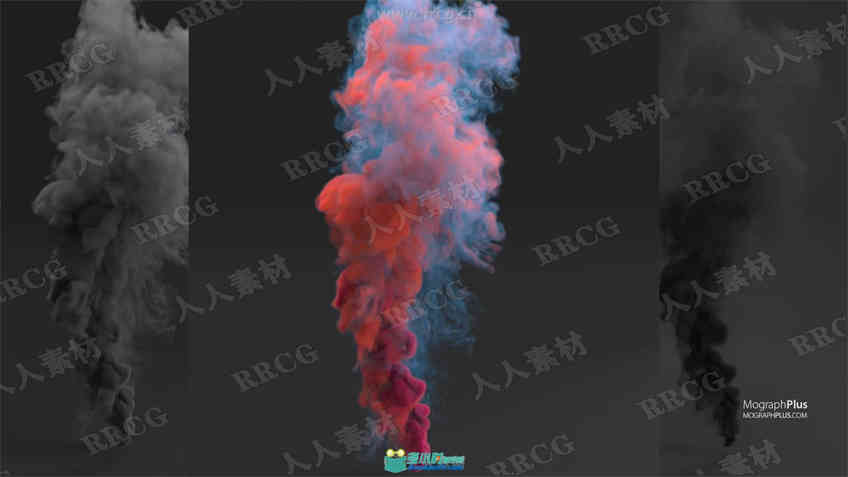

Hey folks, I’m very glad to bring you our new online course “the ultimate introduction to Arnold 6 for Cinema 4d“. It’s a 700 minutes course, almost 12 hours, in 84 videos, every single minute is planned and thought for, there is no rambling, you get the top-notch quality you’ve come to expect from MographPlus. Now let’s talk about the course itself, Chapter 1: Introduction we start off the course by introducing Arnold for Cinema 4d, where to find different Arnold tools and functions, and walk you through the general workflow to get your job down with Arnold inside Cinema 4d. Chapter 2: Sampling When working with Arnold, sampling and ray depth are the most important principles that you should be familiar with, that’s why we discuss them comprehensively in 42 minutes and in 8 lessons , we make sure you comprehend the core principles before moving on to more general topics like lighting and shading. Chapter 3: Lighting The next section of the course is all about lighting, you learn about the fundamentals of lighting and different lighting techniques while learning about the vast and unique lighting tools that Arnold offers. We learn about Area Lights, spot, distant and point lights, mesh and photometric lights. We learn what are light filters and how to use them to direct lighting very specifically. We talk about physical sky and image-based lighting, you learn how to approach interior and exterior lighting in Arnold for cinema 4d. We learn about the amazing volumetric effects in Arnold, including Atmosphere Volume and fog. And finally, we discuss how to use Arnold’s light manager to be able to manage all the lights in the scene in one single window. The lighting section of this course is about 1 hour and 40 minutes in 13 lessons. Chapter 4: Shading In this section we start talking about Arnold shaders and nodes. Not only you learn about all the specific Arnold shaders, but after watching this section, you will be equipped with the core shading fundamentals and cutting-edge techniques in shader development. First, we get to know the Arnold Shader Network in depth, then we learn about the powerful Standard Surface Shader which is capable of creating all sorts of materials, we dedicated 9 in-depth videos to this shader. Then we discover bump and displacement mapping in Arnold. After that I will introduce you to a new simplified approach to shader creation, I will show you how to create some of the most daily shaders like plastic, wood, concrete, metals and so on. You also learn how to create highly realistic Human Skin Shader using the Standard Surface Shader. Standard Hair Shader will be covered in detail, it’s an easy to use, yet powerful shader… We’ll be covering the robust Car Paint and Toon Shaders as well, we learn how to read and render Mograph and field colors and render them with Arnold. Then we learn about Layer and mix, Flat, lambert, two-sided, color jitter, triplanar, RaySwitch, Ambient occlusion, curvature, shadow matte, utility, substance shader, color and utility nodes, math, conversion and shading state nodes and much more. Hopefully after watching this section, you should be very comfortable developing complex shaders in Arnold. The shading section of this course is about 4 and a half hours in 32 videos. Chapter 5: Camera Then we learn all about Cameras, camera types, Depth of field, motion blur and everything that relates to working with cameras in Arnold. Chapter 6: Rendering This chapter is all about rendering with Arnold, first we discover the powerful IPR or Interactive Preview Render window. Then we talk about GPU Rendering in Arnold and clear all the misconceptions about it, like why sometimes it takes so much time before GPU rendering starts and so on, Arnold’s implementation of GPU rendering is quite good as you can switch between CPU and GPU rendering flawlessly. Then we talk about ACES, a system to manage color in all levels of the production, I will give you an overall understanding of what ACES is and does, then I share a few examples comparing ACES and the default color manger and show you why ACES is just way better. Then we take a look at Arnold Driver and how to export still frames and animations with Arnold. After that, we dive deep into the subject of AOVs. What are the AOVs that Arnold offers and how to save them out. we talk about custom AOVs, Global AOV Shaders, cryptomatte workflow, AOV light groups, and finally compositing AOVs in fusion will be covered, both the famous back to beauty composite with the essential AOVs and the Light Mix composite which let us to relight our scene completely after the render in a very easy manner. After that we discover different render settings in Arnold including adaptive sampling, texture settings and TX manager. We cover Nvidia’s real-time Optix denoiser and the Arnold’s own powerful post-render denoiser in-depth with a lot of comparative examples. Chapter 7: Miscellaneous In the final chapter of the course, we take a closer look at Arnold Scatter Object, Arnold Parameters tag, Arnold scene export to USD and ASS files, and Arnold Procedurals. Then we learn how to deal with particles and splines,.we also take a look at some of the very useful Arnold utilities. And at last, we learn about Arnold volume, I show you all the steps you need to render openVDB files in Arnold and how to render realistic fire, smoke and explosion in Cinema 4d thanks to the Standard Volume shader. Conclusion If you want to learn Arnold for Cinema 4d, this is the course to get, period, we work really hard on our courses to assure the quality of them, you get an academically- orientated, well-structured course that will take you to the next level of your career as an artist. My name is Kamel Khezri from MographPlus, and I’m honored to be your host for this course, so sign in or sign up and let’s get started. |
相关帖子
|